
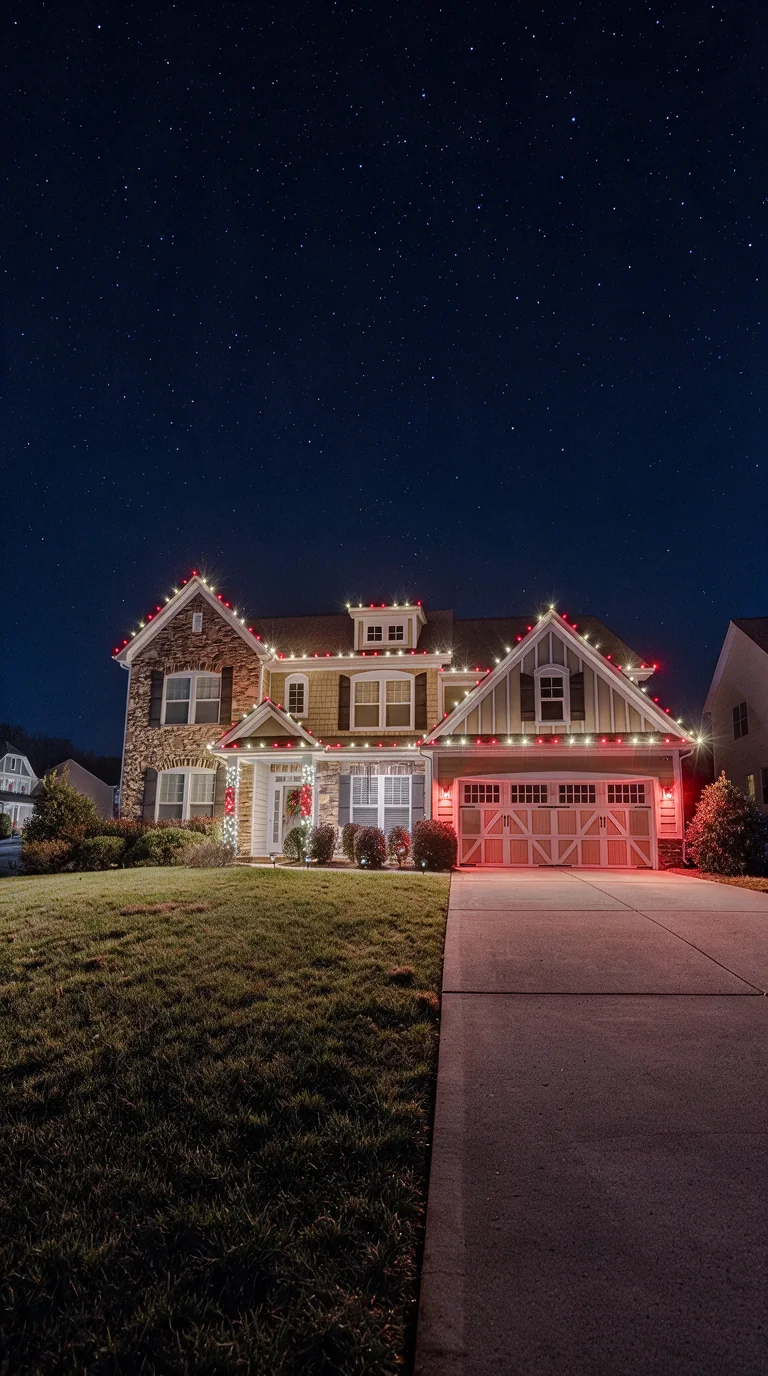
The professional Christmas light installation process is more than hanging decorations. Good results depend on selecting suitable features, evaluating access and electrical conditions, agreeing on the seasonal schedule, and documenting the work that will take place after installation. The sequence below helps homeowners and property managers ask more useful questions at each step.
Step 1: Share a realistic description of the property
Begin with photos of the elevations you want to illuminate and note whether this is a residence, storefront, community entrance, or other property. Include roof height changes, steps, trees, difficult approaches, and any areas where installation crews cannot work freely.
The provider must also verify whether the property falls within its actual service coverage. A nearby city label alone does not establish travel feasibility or seasonal capacity.
- Address for coverage verification
- Front and side photos of intended display areas
- Property restrictions and preferred dates
Step 2: Review design and scope before pricing
A proposal should identify the roof edges, entry accents, tree features, and other surfaces included. If a custom design is being considered, agree on the focal points, palette, and acceptable alternatives before committing to materials.
Compare the same deliverables across proposals. Ask which materials are included, what preparation is required, and whether service visits and removal are part of the price. Undefined “full service” descriptions are difficult to compare.
- Written scope and exclusions
- Light style, color choices, and display zones
- Any owner-supplied materials and responsibilities
Step 3: Coordinate access and installation day
Safe site access requires an agreed work window, appropriate methods for the property, and usable electrical connections. Inform the crew of gate restrictions, pets, business operating hours, and nearby landscaping work.
The final field layout may need adjustment when actual mounting surfaces differ from photographs. Material changes or scope additions should be discussed before work proceeds, not assumed.
- Site access and parking plan
- Outdoor-rated electrical and mounting review
- Who can approve necessary scope changes
Step 4: Confirm seasonal care and closeout
Once the display is active, know how to report a dark section, loose connection, or other visible issue. Define whether the contract covers maintenance, and what the homeowner or property team should do in the meantime.
Removal, packing, and any storage arrangement are separate deliverables that should be confirmed. A clear end-of-season plan protects the property and helps next year’s project start with accurate information.
- Maintenance contact and service scope
- Agreed takedown window
- Labeling, return of materials, and storage terms if offered
Common Questions
When should a property owner request a quote?
Requesting an assessment before a preferred installation date gives more opportunity to review design, access, and service coverage, although availability must still be confirmed.
Is removal automatically included?
Not necessarily. Check the proposal for explicit language covering removal, packing, and any optional storage service.
Next Step: Match the Plan to Your Property
The most useful next step is to share property photos, a target date, access constraints, and the lighting details you want considered. An estimate can then distinguish the proposed work from optional seasonal services, subject to coverage and scheduling confirmation.
Explore the holiday lighting resource center, the service-area information, or request a property-specific quote.